What kind of paintings should I do as a beginner?
There is no such thing as “should” when you’re a beginner. Just start by having fun!
What are your interests? Portraits? Landscapes? Abstract art?
Why do you want to start painting? Maybe you’d like to decorate your home, start a hobby or work towards a new creative goal.
Whatever your reason, know that painting is a wonderful way to express yourself.
I’ve compiled a list of 26 unique painting ideas for beginners to inspire your next artwork or series.
Like any skill, practice makes perfect. The more you do, the more confidence you’ll gain over time. Enjoy the process and don’t compare your paintings to other artists.
Now, even though I’ll be sharing unique painting ideas, these won’t be step-by-step tutorials. I recommend searching on YouTube or Skillshare for that.
I’ll keep the list condensed with a quick description for each idea. You can interpret these however you want!
I’ll also include art terms for you to learn as you go, such as abstract, still life, gestural, monochromatic, gradient, contrast as well as tints, tones and shades.
What art supplies do I need?
I’ve compiled a list of materials to choose from.
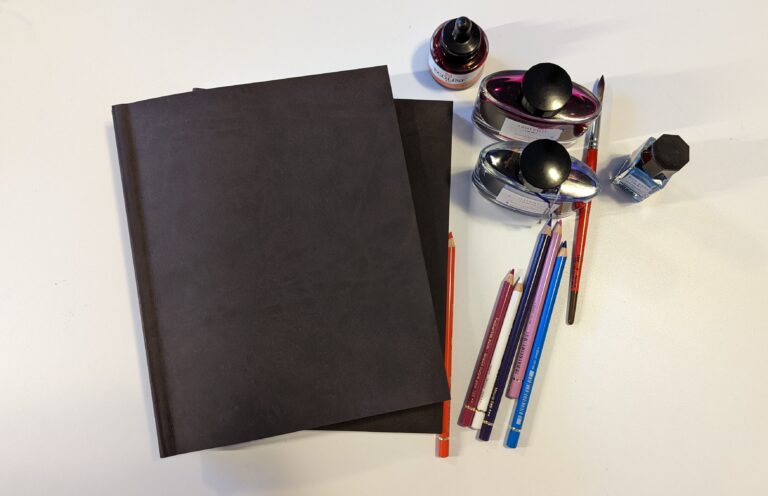
Pick one or more in each of the three main categories: your support, a medium and your preferred tools.
If you haven’t purchased anything yet, you can find all of these materials either at your local craft store, art supply store or online.
Support (pick one)
In the world of fine arts, a “support” is the surface you’ll be painting on. I recommend that you pick one out of these three choices :
- Canvas: any size, primed and low cost.
Best for acrylic, oil and gouache. Could work with watercolour and inks if you add watercolour ground before painting (a specific watercolour primer). - Wood panel: any size, unprimed and slightly more expensive than canvas.
Best for acrylic, oil and gouache. You’ll probably need to add a layer of transparent gesso (primer) if you want to paint over it and keep the natural wood colour. - Paper: any size, so many choices and low cost.
Best for watercolour and gouache. Loose leaf or in a sketchbook, choose the one that’s right for your medium or type of paint.
Medium (pick one)
A medium (or media) is the type of material or, in this case, paint you choose to work with.
Some of them are more forgiving than others, meaning you can remove mistakes by reworking an area where the paint hasn’t dried yet.
I recommend that you pick one out of these five choices :
- Acrylic: water-soluble, can be diluted with water in small amounts, you can thin it out with an acrylic medium or add modelling paste or similar acrylic-based mediums to create interesting textures, dries generally glossy and within the hour. It can take up to four days to cure.
- Gouache: water-soluble, can’t be used like acrylics or it might crack, thicker than watercolour, reactivated with water once dried, dries matte and within thirty minutes. It can take just a few hours to cure.
- Watercolour: water-soluble, mix with water until a milk-like consistency, pale in contrast to acrylic and oil, high transparency, reactivated with water, dries matte and within an hour. It can take up to two days to cure.
- Oil: oil-based, viscous consistency, can be diluted with oils and solvents, dries anywhere between two days to two weeks. You can easily rework your piece without having to worry about the paint drying too fast, unlike acrylics. It can take as long as six months to cure. Oil has a difficult learning curve in comparison to other mediums. Oil painting requires extra measures for your health and safety. Please inform yourself about best practices beforehand.
- Acrylic Ink: water-soluble, liquid form, a combination of pigment and dyes, from transparent to opaque depending on the colour, used as a drawing or painting medium, dries matte and within an hour. Once dried, it becomes waterproof. It can take just a few hours to cure.
***Do your research about proper art safety practices, especially as a beginner.***
Tools (pick as many as you want)
- Paintbrushes: synthetic or made with animal hair, common types include round, flat, fine detail or liner, fan, angled, filbert, comb and bright. They can be specific to a type of medium, especially for uses such as watercolour vs acrylic. Synthetic multi-packs are more cost-effective while real animal hair tends to be expensive.
- Palette knife: you can use a plastic one that usually comes in a beginner’s paintbrush set, but I highly recommend spending a little more on a steel tip and wood handle.
- Sponges: so many different sizes and shapes, from natural to synthetic materials, they are ideal for creating texture in your painting.
Extras (ideally you have all four of these)
- Paper towel or large rag
- To wipe your brushes
- Correct mistakes
- Water jar
- To wash your brushes
- To dilute your paint
- Palette or palette paper
- For mixing your colours
- Masking tape
- To cover the edges of your canvas or wood panel
- To hide parts of your painting that you don’t want paint to touch
- To create a border on paper
26 unique painting ideas for beginners
1. Close-up citrus fruit
Pick a citrus such as oranges, lemons or grapefruits. Cut it in half and take a few close-up pictures.
You can further crop these pictures on your phone or your computer depending on your desired composition.
Choose the one that you like the most and paint it! You can add or omit as many details as you want.
The focus of this exercise should be learning how to colour match (realistic colours) and practice your proportions.
2. Colour inversion of a picture
So fun! Choose a picture of a landscape on your phone and use your phone’s “settings” drop-down menu.
On an Android, you can find “colour inversion” in the Accessibility tab under Colour & Motion.
For iPhone users, you’ll find this setting in the Accessibility tab as well under Display & Text Size, then click on Classic Invert.
When you activate it, every colour on your phone should appear as its opposite. Everything in light becomes dark and vice versa. Paint your chosen picture with this filter for a very unique effect.


3. Abstract galaxy
Find a picture of a galaxy, one with a clear colour palette. Start with a dark background.
Avoid using your standard onyx, mars or ivory black right out of the tube, instead mix it with a small amount of red or blue.
You can also mix your own black which usually makes them look “richer” and more nuanced.
Continue by adding dabs of colour (based on your galaxy) onto your surface with a sponge and then use a large dry brush to blend the colours.
You can add more colours by allowing them to dry in between layers, and then finish your painting by flicking white paint with a damp paintbrush to mimic stars.
4. Sponge forest
Exactly as it sounds – using all sorts of sponges (round painting sponges, rectangular scrub sponges and/or triangular makeup ones) to create a forest landscape.
By using different types of sponges, you can achieve a unique textural look.
Work from background to foreground. Your forest doesn’t have to be realistic, it can have pink trees or blue grass.
Useful tip: you can use triangle makeup sponges to paint tree trunks with one of the edges.
5. Dreamy clouds
To find dreamy cloud photography, find inspiration online on Pinterest.
A pastel-like color palette is fun to work with and I find this exercise to be pretty relaxing.
Go hyper-realistic or use a flat paintbrush for a unique semi-abstract look.
6. Interpret your favourite album
Listening to music is a vital part of my artistic process. Lately, I’ve been listening to Imagine Dragons’ latest album LOOM.
For this painting idea, you could pick an album from your favourite band or artist and choose to interpret it however into a painting.
It can be abstract or figurative. Looking at the album cover can be a great starting point for inspiration.
7. Animal eyes
Take lovely photos of your pet(s)* and make their eyes the focus of your artwork.
There are also high-quality photo references online if you want to create a detailed image.
Animal eyes are so nuanced and contain many colours. Their colourful irises are so unique that they often look otherworldly.
*No camera flashes to protect those beautiful eyes!
8. Still life of a meaningful object
Look around your home and find an object that is meaningful to you. Think about why you value this object and the memories that it holds.
A “still life” is a painting that showcases object(s) in a fabricated composition. As a beginner, you could place your chosen object on a table, counter or floor.
You can also attempt something a little more complex by adding cloth or drapery. Take a picture of your scene or paint from life, it’s up to you.
9. Water reflections
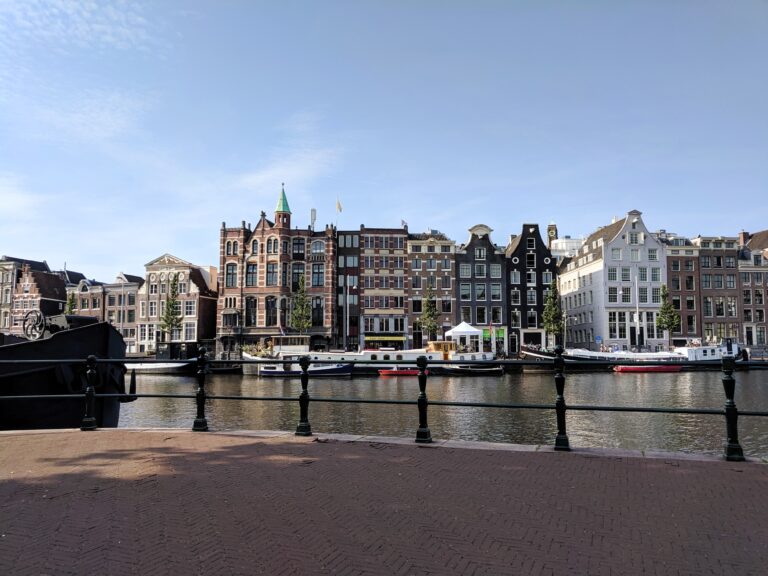
Still water, ripples, waves… All of these make great paintings. You can decide to incorporate the surrounding area or focus solely on the reflection itself.
Still water will mirror its environment while ripples will create a distorted effect.
You can simplify it by going abstract or try to replicate this effect realistically.
A challenging yet calming exercise.

10. Palette knife birds
A palette knife is a versatile tool that adds a 3D-like texture and depth to your painting.
It’s also an ideal tool for mixing your paints if you use acrylic or oils, especially if you’re working with gel mediums or modelling paste.
For this painting idea, try to mimic the silhouette of a bird, small or large, with a palette knife.
This technique isn’t intended for watercolour or ink.
11. Repeating pattern
Patterns are everywhere! You can find them on textiles, most commonly on clothing and home decor.
For this painting idea, try to take inspiration from a pattern that appeals to you.
Take a look at how they’re constructed plus the overall colour palette. Use it as inspiration for your handmade pattern.
If you don’t know how to make a repeating pattern, check out this tutorial by Skillshare.
12. Tiny paintbrush only
This exercise will definitely test your patience. You can go as small as you want here, such as a fine detail brush.
You’ll get completely different results depending on the type of brush you choose (round, flat, fine detail, fan, angled or filbert).
I say pick a type of brush you haven’t tried before and go for it. It might be uncomfortable at the start of the painting process, but you’ll get familiar with it quickly.
13. Large brush only
And now do the complete opposite and choose the biggest paintbrush in your collection.
Ideally, this would be a broad flat brush between one to four inches. You will learn how to simplify your subject and paint expressively.
Paint confidently and try not to rework an area too much even if it’s not perfect.
14. Light vs dark
Choose a subject, such as a portrait or reference photo where the light source creates an interesting cast shadow.
Pick a space with minimal to no lighting, then pick one light source like a small window or a lamp and direct it towards your subject at an angle.
This is an excellent exercise about contrast, which creates striking imagery.

15. Simplified flower vase
Do you have any flowers in your home? Maybe in your garden? Flowers make wonderful organic subjects for a painting.
For this exercise, they should be arranged in a vase or container of your choice. Simplify the flowers by blocking out the shapes.
Work with larger brushes to avoid adding details. This painting idea will look great as wall art.
16. Your home’s colour palette
This can be a fun way to create a painting tailored to your home. Look at your overall decor, wall space and desired aesthetic. What colours are more prominent?
For example, if you have a red couch with green cushions and an oak coffee table, try to create a painting with red, green and beige.
As a beginner, I would recommend you try to make an abstract painting which focuses on the artist’s intuition rather than technical skills.
17. One continuous line
Paint with intention by following one continuous line.
Lift your paintbrush as needed, either to apply more paint or change colours, but try to continue from where you left off.
This is a popular drawing exercise that I thought would lend itself to painting.
Simplify your subject and aim for expressive brushwork. You can start from a blank canvas or apply a layer of paint as your background.
18. Merging two landscapes
This is a classic art school painting exercise. Choose two natural landscapes.
I recommend you look at reference photos with distinct differences in the types of topography and overall architecture. Pick elements from each picture and construct a new landscape.
Think about how these elements will interact with each other in your painting.
Make them appear lighter or darker in value depending on their position (foreground or background).
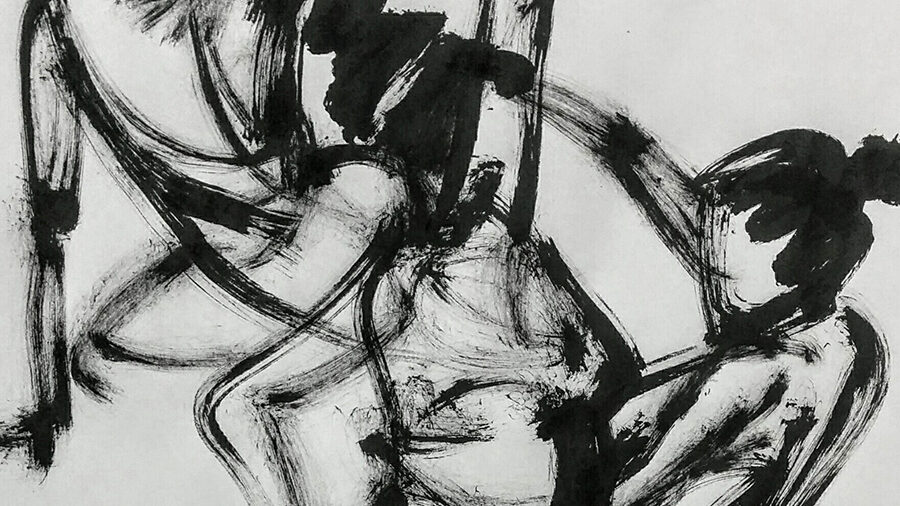
19. Gestural figure
A gestural painting is a great exercise for beginners. When you loosen your brushwork, your art will become more expressive.
I thought we could add a figurative element to this widely popular technique used by abstract painters.
Creating a figure or silhouette with just a few brushstrokes is actually a little harder than it looks.
It’ll teach you how to create movement and impart “life” into a still image.
Try not to go over your lines and use your entire arm to paint rather than just your wrist.

20. Special door
Next time you walk through an interesting neighbourhood in your city or on your travels, make sure you look at different types of doors.
Take a few pictures and play with composition. The craftsmanship on some of these doors can be quite amazing and make for unique paintings.
Some of the most amazing doors I’ve seen were in Italy! So make the door the focus of this exercise, but have fun with your colour palette.
21. Complementary colours
Time to look at a colour wheel! Complementary colours stand on opposite sides of the wheel, creating a warm and cool colour combination.
The basic pairings are Blue-Orange, Red-Green and Yellow-Purple.
By placing them side by side in your painting, they’ll appear brighter and for lack of a better word, complement each other.
22. Mix two art movements
If you’re unfamiliar with art movements and art history in general, I recommend taking a look at this Art Movements section on Google Arts & Culture.
Each movement you click on has a short description, related stories, artwork and influential artists.
After doing your research, pick two art movements, such as Minimalism and Post-Impressionism.
Find their distinctive characteristics (subject, colour palette, form and composition) and combine these elements into one painting.
For example, you could choose to make geometric shapes (Minimalism) with Vincent van Gogh’s stylized brushstrokes (Post-Impressionism).
23. Gradient rectangles
A seemingly simple painting technique that will require some patience as you learn to transition from one colour to the other.
For this exercise, you can start with a blank canvas and create a small to medium rectangle with some masking tape.
To make a gradient, follow this tutorial. Wait for the paint to dry, remove the masking tape and then repeat with a new rectangle with two new colours.
You can layer these rectangles as many times as you want. Different mediums will achieve different results due to varying transparency.
24. Whimsical adventure
Do you enjoy painting cute characters and enchanting landscapes? This painting idea is for you.
Visualize a character on an adventure in an ethereal-like place or dreamscape.
For inspiration, I would recommend any Studio Ghibli film. Definitely a masterclass in storytelling!
Don’t impose limits on your imagination. Paint the sky green or make funny-looking smiling plants; it’s up to you!
25. Diptych
It might sound like a fancy art term, even though it simply means taking two pieces, canvas or other flat surface, and combining them to create one artwork.
They don’t necessarily have to be the same size, but they should work together to create a narrative.
As a beginner, you can take one image, cut it in half and paint each half on the surface of your choice.
Though, this isn’t your only option if you’re feeling adventurous!
Diptychs can look like a mirrored image or have a similar colour palette but look completely different.
The importance of a diptych lies in its meaning, most often expressed as a duality of sorts.

26. Monochromatic
A monochromatic painting contains only one colour or hue.
So how can you paint using only one color? By playing with tints, tones and shades.
You can mix your colour with either white, gray or black to achieve varying contrast.
An example would be to make all your foreground elements darker and background elements lighter, creating depth within your artwork.
This is an excellent exercise to start learning about value in art.
An easy way to understand this concept is:
- Tints: Chosen colour (hue) + white
- Tones: Chosen colour (hue) + gray
- Shades: Chosen colour (hue) + black
Key Takeaways
These 26 unique painting ideas for beginners can be adapted to your skill level. They’ll teach you concepts like colour matching and theory, fun techniques plus key art terminology.
I recommend these essential art supplies to get started :
- Pick one support: canvas, wood panel or paper.
- Pick one medium: acrylic, gouache, watercolour, oil or acrylic ink.
- Pick one or more tools: paintbrushes, palette knives or sponges.
- Extras (all of them if possible): Paper towel or large rag, water jar, palette or palette paper and masking tape.
As a beginner, always remember to focus on your creative process rather than the finished product. Now get creative!

