The simple answer is – YES! Of course, you can with enough practice, perseverance and determination.
Artists like Vincent van Gogh and Jean-Michel Basquiat were self-taught. These days, it’s becoming increasingly easier to learn on your own with free online resources for artists.
And just in case you’re wondering, you can teach yourself how to draw regardless of your age. But remember, you won’t see progress overnight. Practice and practice some more!
Having a specific art goal can also provide enough motivation to keep a consistent drawing habit.
I’ve prepared a step-by-step guide for those who draw using pencil and paper. But, if you prefer drawing on a tablet, please skip to step 3 and beyond.
So how exactly can you teach yourself how to draw?
This quick how-to guide includes a list of essential drawing supplies, tips on using your sketchbook efficiently and a few sketching ideas to get you started.
Step 1: Gather your drawing supplies
Before you spend any money, I’d like to remind you that any type of paper (like printer paper) and HB pencil will work if you have no experience.
Many artists recommend starting with pencils due to their forgiving nature: erase unwanted mistakes, blend them with stumps and create wonderful details or lines.
If you’re willing to spend a little to get started, here are my recommendations:
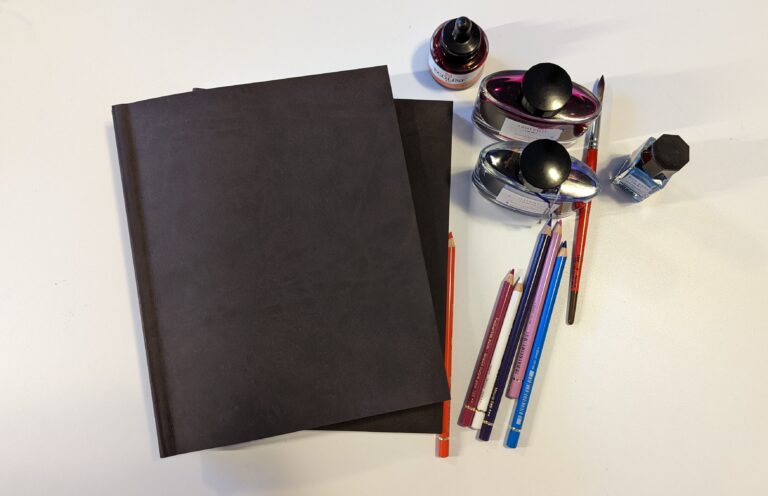
- Sketchbook: Strathmore Sketch or Canson Sketch / Drawing Sketchbooks are quality options at an affordable price. I wouldn’t go bigger than 11”x14” to start with. Avoid heavily textured paper for now (known as cold-pressed).
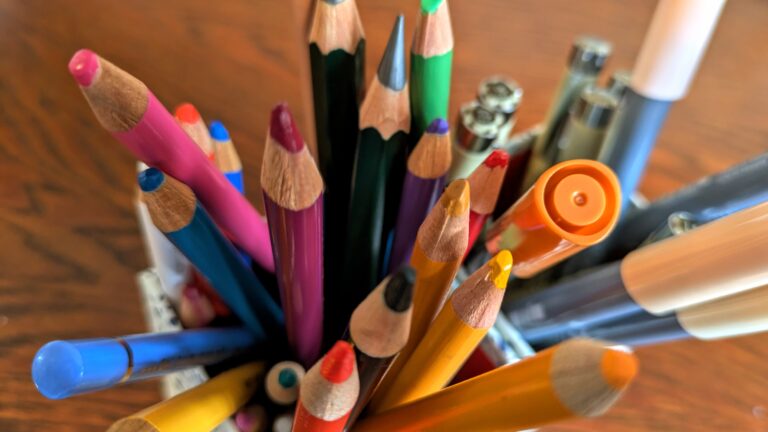
- Pencil Set: The Faber-Castell 9000 Art Set Pencil (Pack of 6) or similar.
- Standard eraser.
- Blending stumps for shading and blending (pick various sizes; they get better after being used for a while).
- A good sharpener from brands like Staedtler and Faber-Castell.
Apart from your sketchbook, keep all your supplies in a small case to carry them around everywhere you go.
Now let’s move on to step 2.
Step 2: Make the best use of your sketchbook
To make the best use of your sketchbook*, I thought I’d share some advice:
- Think of your sketchbook as a personal art journal. No one should be looking at it except for you. Sketch, write, practice fundamentals and make thumbnails for your standalone pieces. That’s what it’s all about.
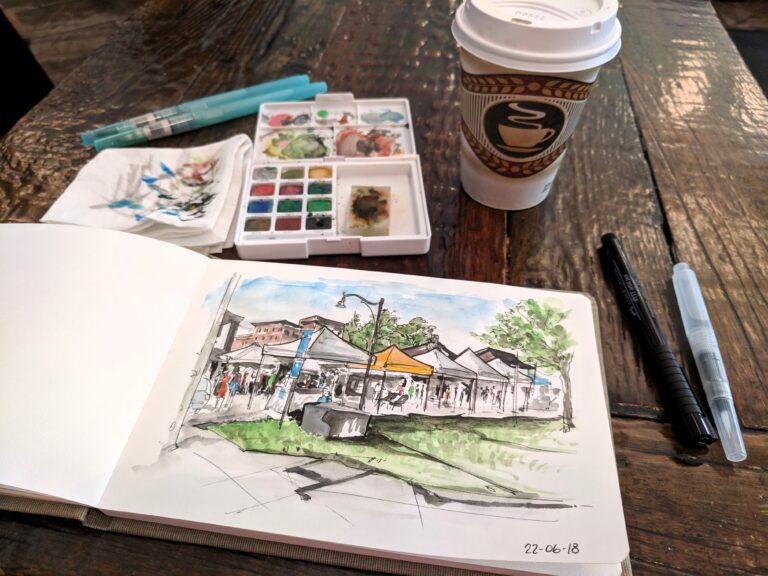
- One page doesn’t have to equal one drawing. You can complete small sketches on one page as long as you write the date underneath each sketch. This can also remove some of the pressure of making a finished drawing on every page.
- With your sketchbook, you can measure your progress over time and keep track of your drawings all in one place. Just write the dates in a simple format such as MM-DD-YYYY or DD-MM-YYYY. Once your sketchbook is complete, flip through the pages and be proud of your work. Notice any differences or improvements between the first and last pages?
- Focus on the creative process rather than the finished product. Moreover, don’t feel obligated to finish a drawing if you prefer to move on to the next one. It’s completely normal to leave parts of your sketches unfinished.
- Don’t draw every day if you don’t want to and take a well-deserved break once in a while. By stepping away, we tend to notice new details about our drawings and even ways to improve them. A regular weekly practice is enough to see positive results after a year.
- Let go of the notion of Art style, as it isn’t that important when you’re a beginner. Your art style will develop and naturally evolve over time.
*I want to add that as long as you pick a sketchbook that is specifically made for your medium (graphite pencils), you probably won’t notice much difference between them. So find one that you like and start with that.
Step 3: Drawing ideas to get you started
As a beginner, try to focus on drawing things that bring you joy. You definitely don’t need to learn everything at once! For example, if you like sketching portraits you could start by learning how to draw eyes, then move on to different types of noses and so on.
- Learn the basics: Watch a Proko tutorial on YouTube that focuses on fundamentals like this video about structure basics. You can apply these concepts to improve your art over time. These include values, perspective, form, colour theory, anatomy and proportions.
- Value: Although I mentioned studying the basics in #1, I wanted to emphasize how important learning about values is as a beginner. For this exercise, put a simple black-and-white filter on a photo from your cellphone and look at the range in value (from light to dark). Then make a small thumbnail (rectangular) sketch based on that photo. Repeat with a new photo as many times as you want.
- Master Study: Recreate a drawing by your favourite artist. You don’t need to make an exact copy; instead, try to focus on one key aspect like lines or perspective.
- Self-portrait: Make a self-portrait and try to set a date every year so that you can repeat this exercise. Oh, and a self-portrait doesn’t have to be realistic to be good… Be creative and try to have fun with it!
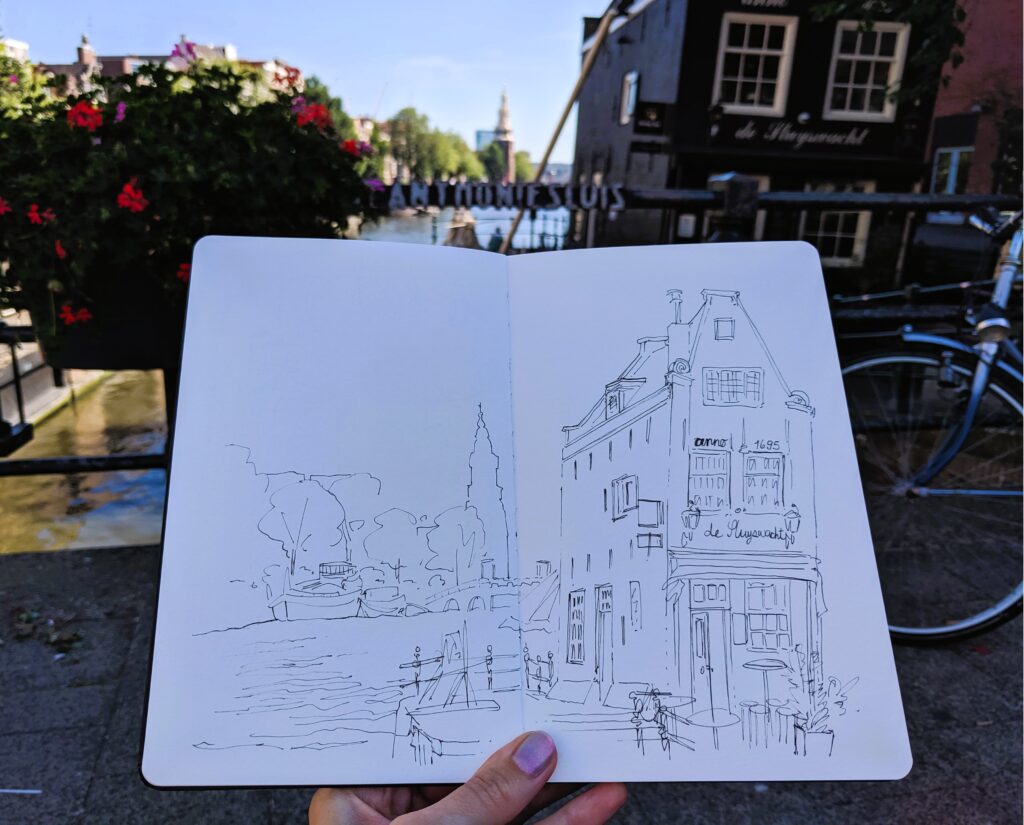
- Observational drawing: Drawing from observation is all about training your eye to draw what you see. Take your sketchbook with you and draw something on location. This will force you to choose what information you decide to include or omit and work at a faster speed (since you typically don’t want to spend hours in the same location).
- Fanart: Do you have a favourite show, movie or video game? If so, draw a person, character or scene to the best of your abilities. You can practice various facial expressions and poses or take inspiration from an interesting background.
- Compositions: Vary your compositions throughout your sketchbook. Play with the elements in your foreground and background to add depth. Things in the foreground are always larger than in the background, but you can play with values to create different moods.
- One-line drawing: Don’t lift your pencil (unless you need to sharpen it) and try to create confident lines that vary in thickness. Focus on making quick gestural (fluid) movements. Avoid using your eraser for this exercise.
Advice for beginners
As a beginner artist, being critical of your work and having self-doubts are common at this stage. Throughout your artistic journey, you’re going to have a lot of highs and lows.
If you’re looking to improve fast, you may want to adjust your expectations. Think of art as a journey instead and focus on small achievements.
Instead of having a negative inner dialogue, try to be critical of your work in a constructive manner.
Notice when you tend to feel discouraged; are you comparing your work to others? If so, just accept that they’ve had years of practice to get to this point. Natural talent does exist, but it’s very rare.
Most artists have to master their craft for many years before they get to where they are. And let me tell you… Even professional artists are always looking for ways to improve and challenge themselves.
Here are a few examples of pointless negative criticism and what to tell yourself instead:
- “I’m not good enough” should be “I’m still learning, I just need to keep practicing.”
- “My drawings are ugly” should be “My hand drawings aren’t looking right, maybe I should look at better reference images, learn proportions and watch a few tutorials on YouTube.”
Key Takeaways
Yes, you CAN teach yourself how to draw regardless of your experience or age.
My step-by-step guide includes 3 steps:
Step 1: Gather your drawing supplies
- Sketchbook, pencil set, eraser, blending stumps and sharpener.
Step 2: Make the best use of your sketchbook
- Think of your sketchbook as a personal art journal.
- One page doesn’t have to equal one drawing.
- Measure your progress over time by writing down the dates.
- Focus on the creative process rather than the finished product.
- Don’t draw every day if you don’t want to.
- Let go of the notion of Art style.
Step 3: Drawing ideas to get you started
- Learn the basics.
- Practice your values with thumbnail sketches.
- Get inspired with master studies.
- Make a self-portrait every year.
- Draw from observation.
- Create a fanart for fun.
- Vary your compositions.
- Challenge yourself with a one-line drawing.
My best advice for beginners is to challenge negative inner dialogue. Don’t compare your work to others and be patient; you’ll see improvement over time if you draw consistently.

